Blocking Plans
- 14 May 2024
- 2 Minutes to read
- Print
- DarkLight
Blocking Plans
- Updated on 14 May 2024
- 2 Minutes to read
- Print
- DarkLight
Article Summary
Share feedback
Thanks for sharing your feedback!
Teachers can create blocking plans that contain sites and Windows apps to either be blocked or allowed during class sessions. When starting or scheduling a class, the teacher can choose which blocking plan to enforce during that class session.
What are blocking plans?
A blocking plan is essentially a customizable list that includes both websites and Windows applications. These lists can be configured in one of two ways:
- Block Only: This setting allows all sites and Windows apps except those specified in the list.
- Allow Only: Conversely, this setting blocks all sites and apps except those explicitly allowed in the list, akin to the Site Lock feature or Site Lock to a Collection.
Creating a new blocking plan
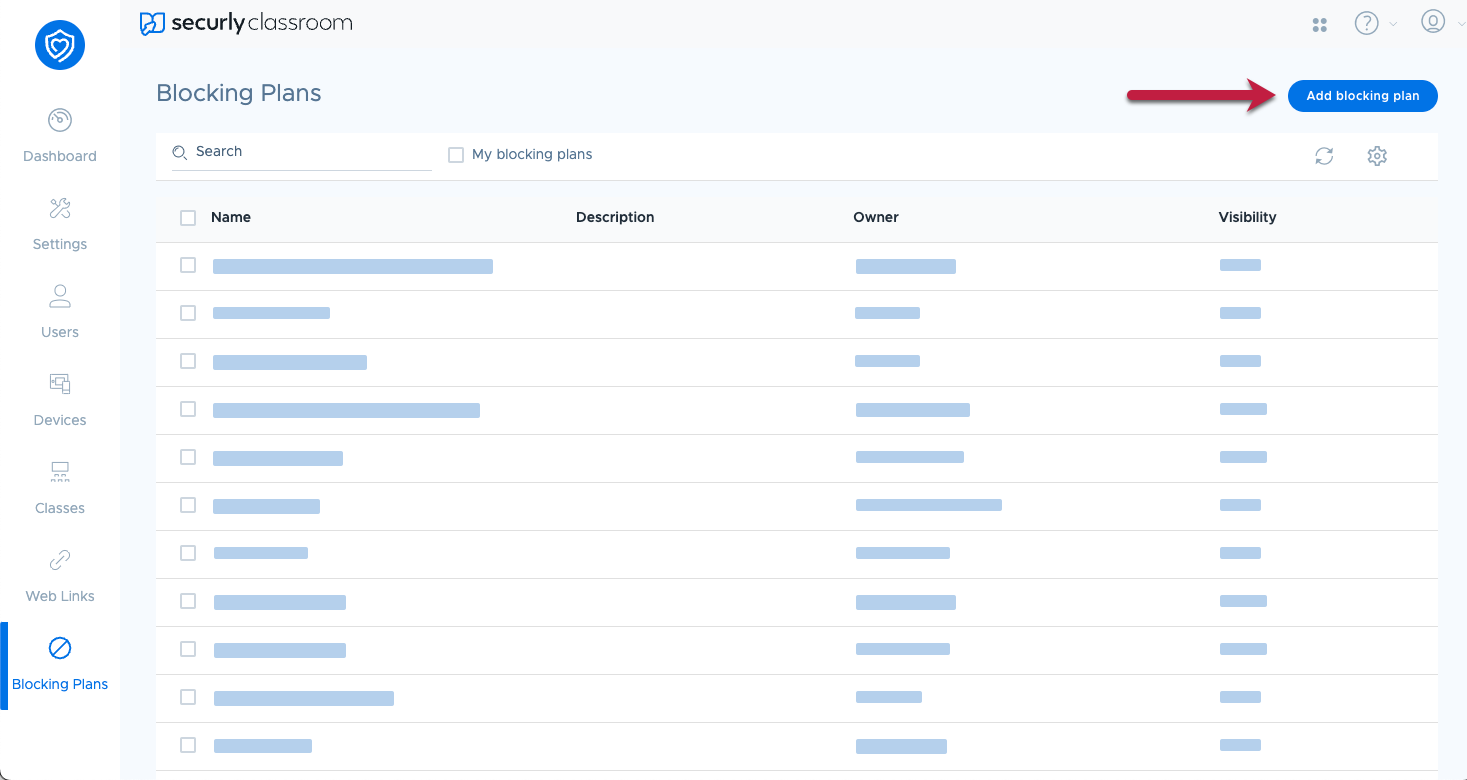
To create a new blocking plan, go to the Blocking Plans menu and click Add Blocking Plan.
In the Details section at the top of the page, you can enter a Plan Name and Description for the block list.
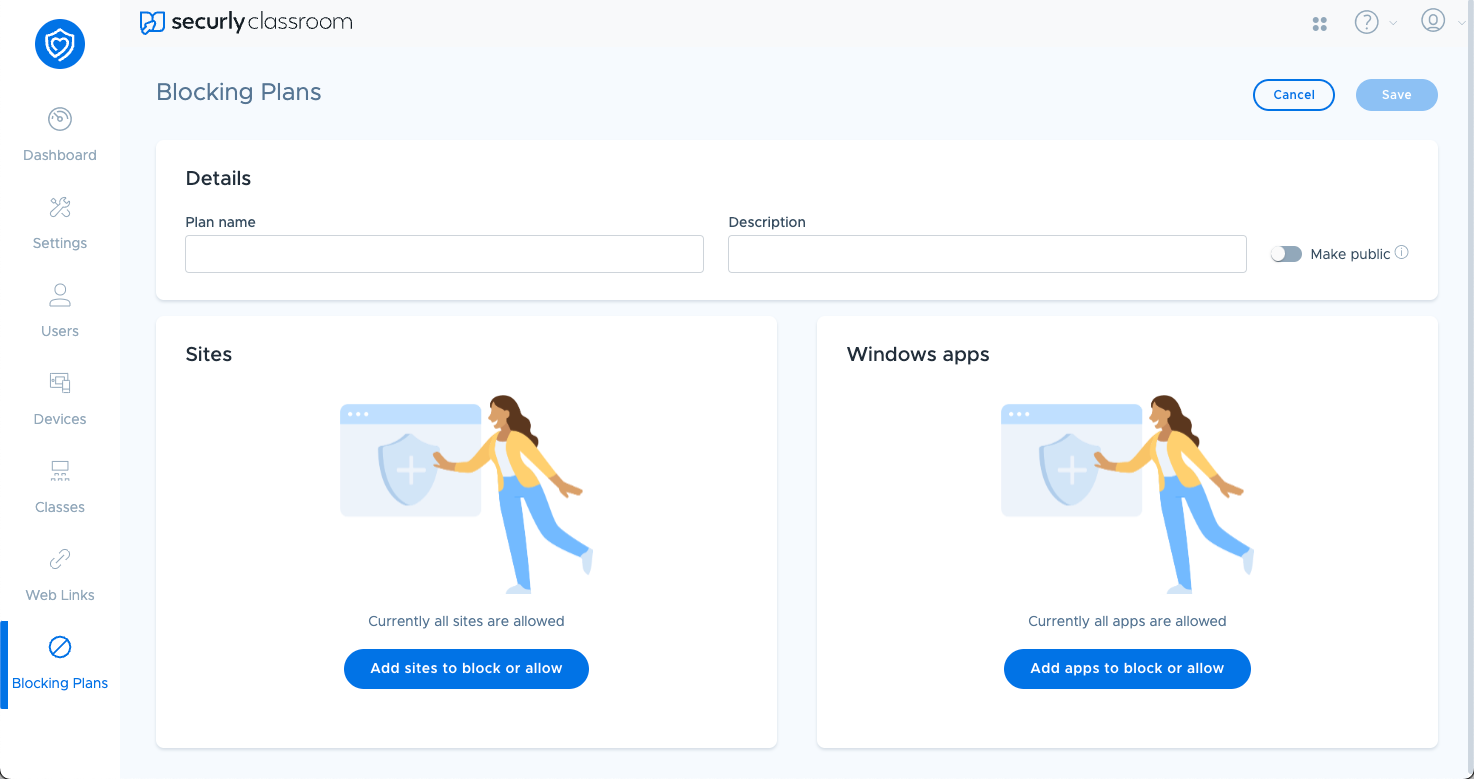
You can also change the visibility of the blocking plan. Enabling the Make public toggle will allow other teachers in your district to apply those blocking plans to their own classes. However, other teachers cannot edit or delete public blocking plans. Other teachers can clone public blocking plans to customize their own copies.
Adding sites or Windows apps to block or allow
In the Sites section on the left, click Add sites to block or allow. However, if you don't want to block any websites with this blocking plan and only block or allow Windows apps, you can move on to the Windows apps section on the right.
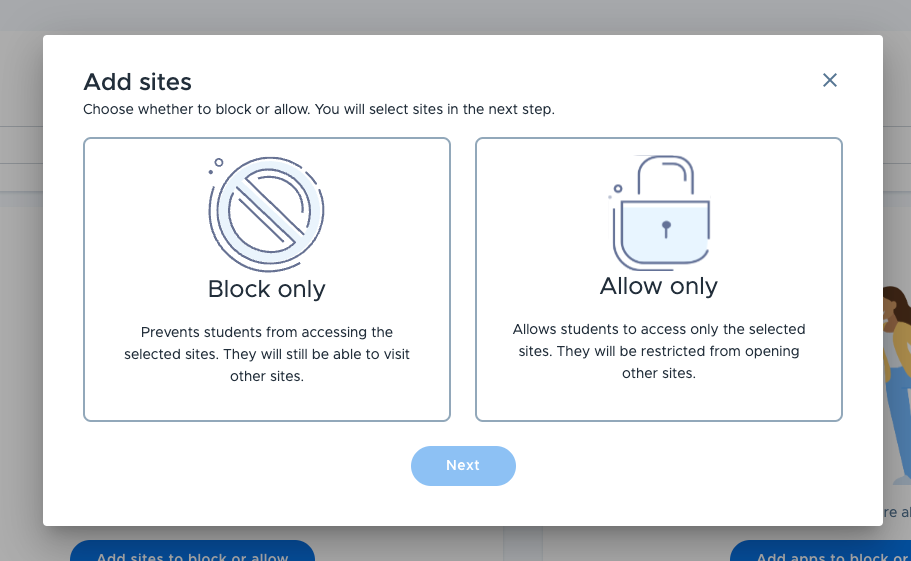
Once you click on the button to either add sites or Windows apps, you will choose whether the blocking plan is a Block only or an Allow only plan (see above).
When adding websites, you can either select sites you've recently closed on student devices, or manually enter URLs separated by commas. Once you've added some sites and clicked Add, you can always add more sites by clicking the plus icon in the upper right of the card.
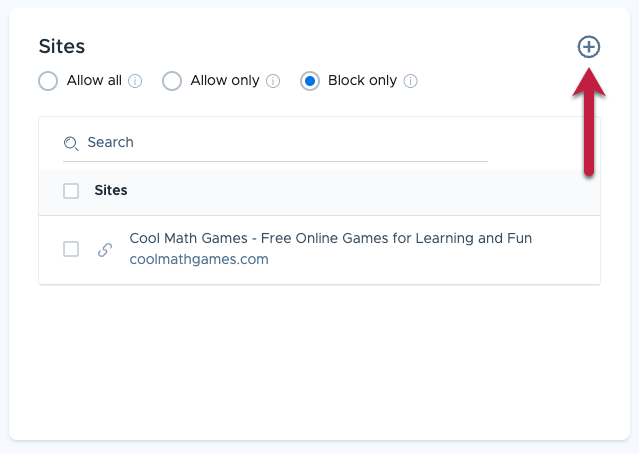
From here, you can also change the type of blocking plan. You can also remove sites from the plan by selecting them and clicking Remove.
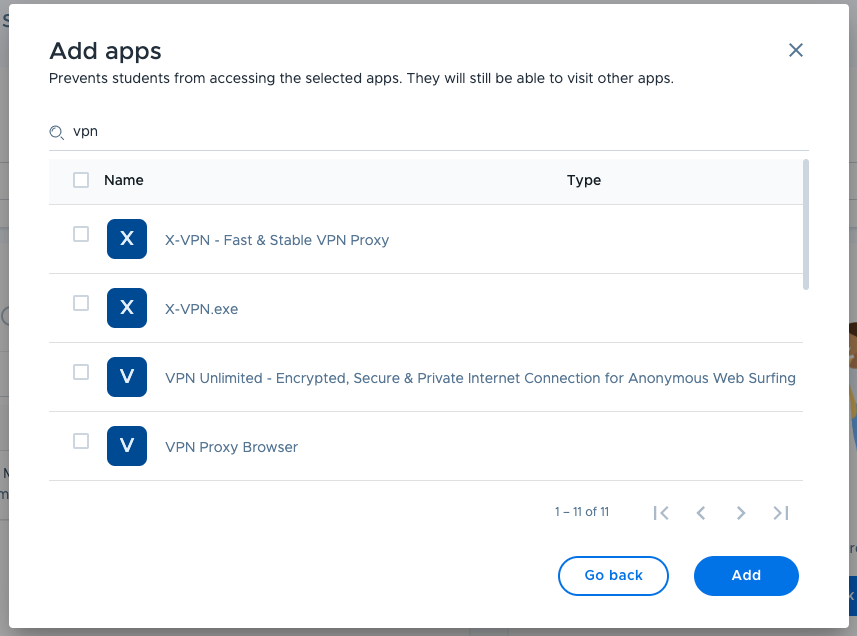
To add Windows apps to the plan, click Add apps to block or allow. The process here is similar to adding sites, except you will select from a list of known Windows apps. Click the search bar to find the apps you're looking for, then check the boxes to select them. When you're done, click Add.
When your blocking plan is ready to go, click Save in the upper right corner.
Using a blocking plan
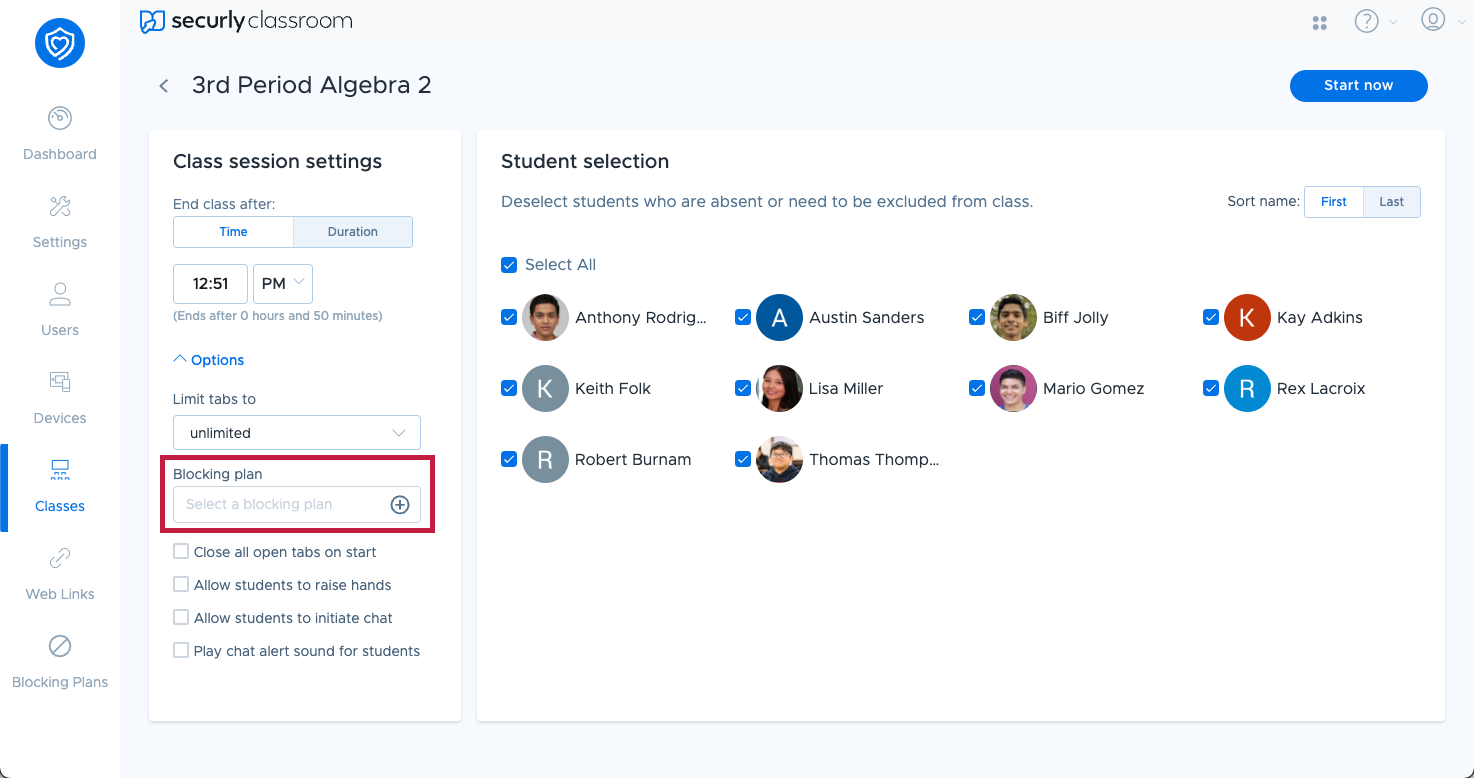
You can use a blocking plan when starting a class by expanding the Options menu, then clicking the plus button under the Use block list field.
This will open the blocking plan selection window. You can search for a blocking plan or filter to just your blocking plans using the controls at the top of the window.
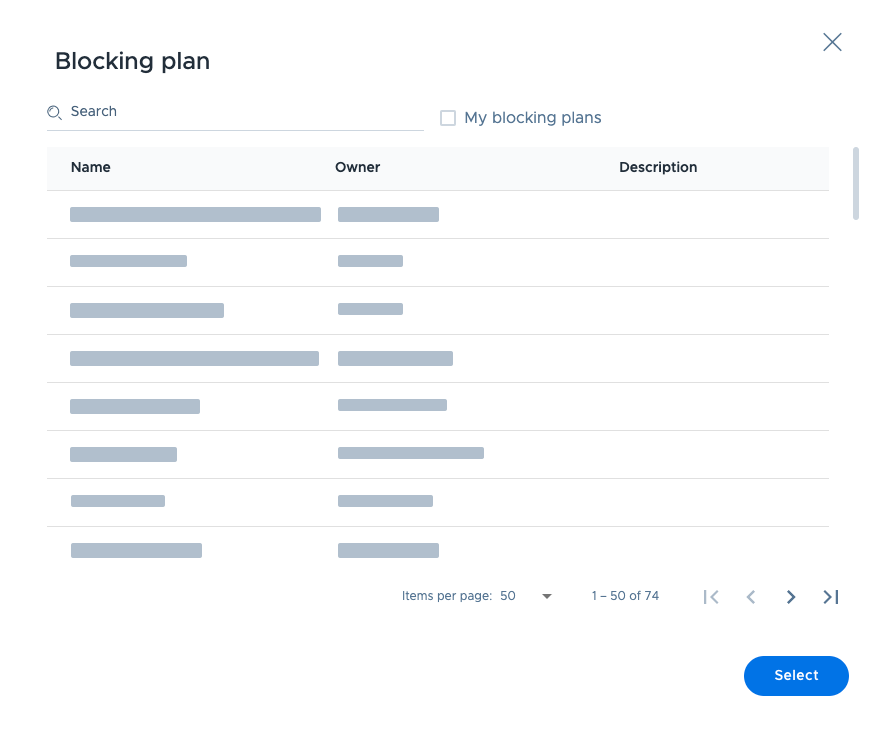
Once you have selected a blocking plan to use for this class, click Select.
Notes on blocking plans
- When a student navigates to a blocked URL, they will see a message that the site was blocked by a teacher, and the name of the blocking plan in use.
- When a student opens a blocked Windows app, the app will be immediately closed.
- If a student has a blocked Windows app open when the class starts, it will be hidden, except in the case of certain music and messaging apps, which will be immediately closed.
Was this article helpful?