There are two ways to move Chromebooks to the OU for lost devices. It can be done directly from Securly Classroom by activating Lost Mode from device details or it can be done from the Google Admin Console.
Activating Lost Mode from the Securly Classroom
A device can be moved to the OU for lost devices directly from the Classroom interface, however, it's not possible to remotely reboot the device immediately after the move. If you want the device to reboot immediately, you'll want to use the Google Admin Console as described in the section below. It's not necessary to do an immediate reboot, but it can force the device to enter Lost Mode quicker.
To move the device from the Classroom UI, select a device and flip the Lost Mode switch on the Device Details page.

For Lost Mode to work properly, the default Lost Mode OU must be properly configured in Settings as described in the Setting Defaults for Lost Mode section of this guide.
Moving devices to the Lost OU from Google Admin
Follow these steps to move the device into the OU for lost devices using the Google Admin Console. After the device is moved, you can remotely reboot the device to ensure that it runs the Lost Mode kiosk app sooner.
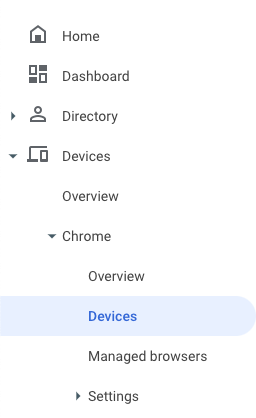
- In your Google Admin console, choose Devices from the left hand menu. Under that menu, select Chrome, then Devices.

- Click on the OU that contains the device you wish to move.
- Select the device from the list of Chromebooks then click the Move icon at the top right.

- Select your Lost Devices OU from the list and click Move. The next time the device reboots, it will load the Lost Mode kiosk app automatically.
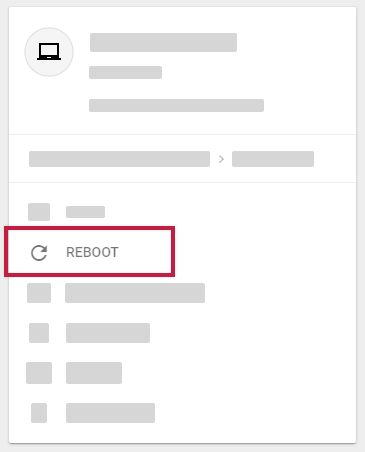
You can force the device to reboot from Google Admin by clicking the Reboot button from device details.
