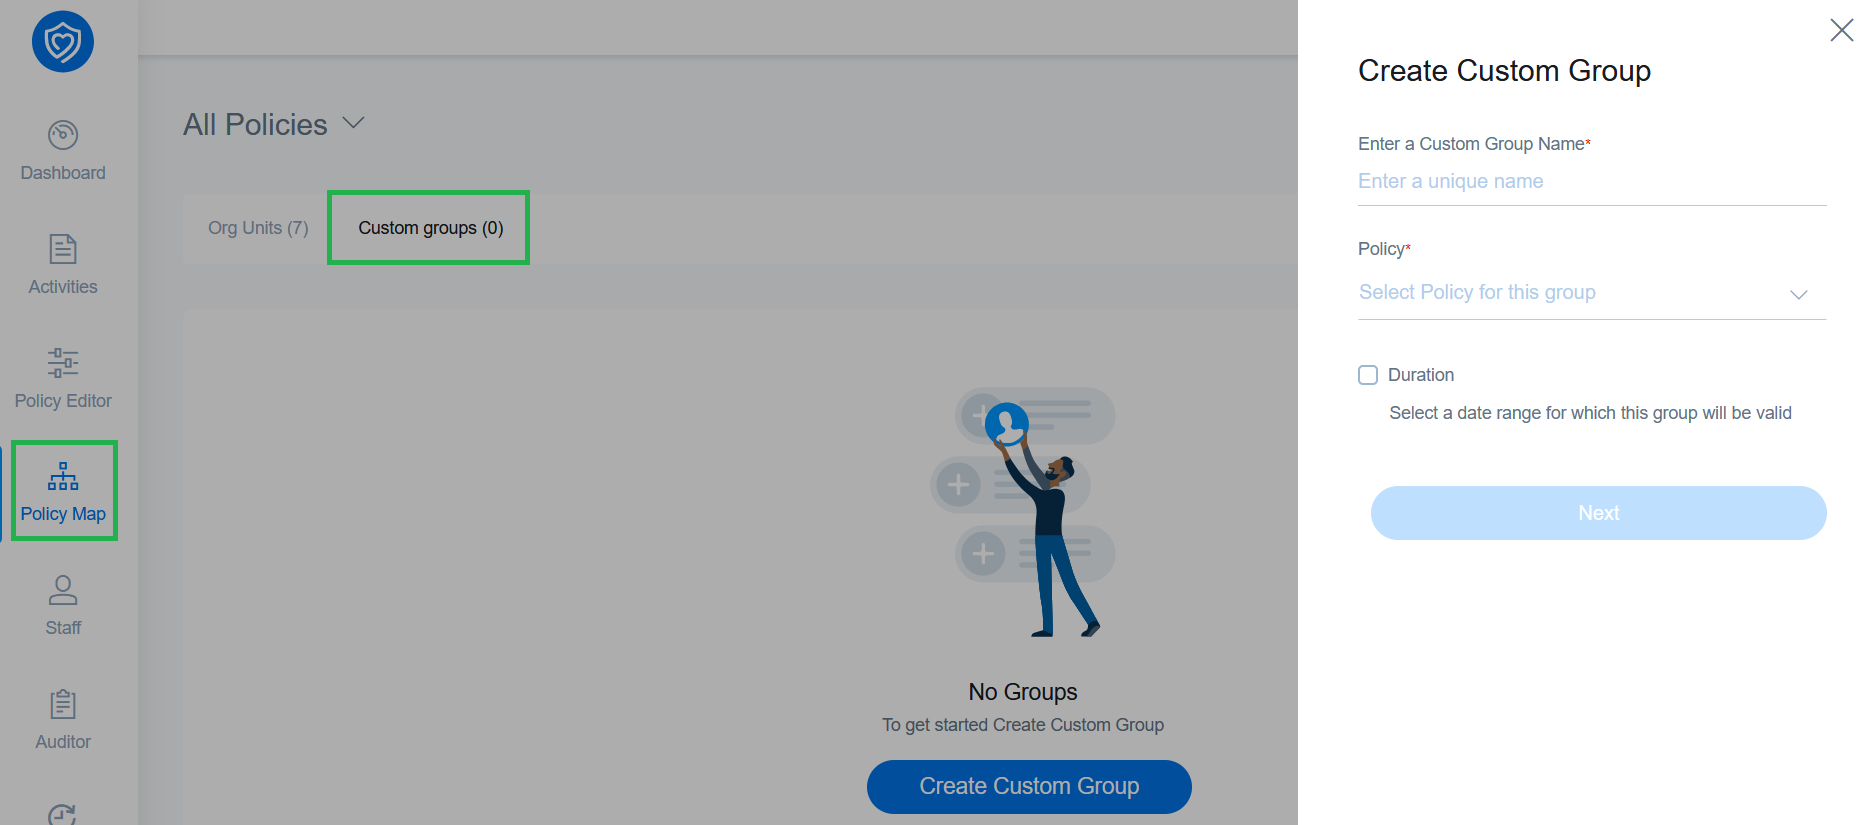
Next to the Org. Units tab is the Custom groups tab. Custom Groups allow admins to create special groups of users and assign them a filtering policy that is different from the policy assigned to their OU. Custom Groups can include users from multiple OUs. To enable Custom Groups, please contact Securly Support.
Once enabled, you will be displayed a new “Custom Groups” tab on your “Policy Map” page. Follow the onboarding wizard to create your first group:
-
Enter a unique name for the custom group.
-
Select a policy to be applied to that group from the drop-down for the 'Policy' field. If you want to create a new policy, please create the policy before creating a group so that it appears in the dropdown. You can also change the policy assigned to a Custom Group at any time.
-
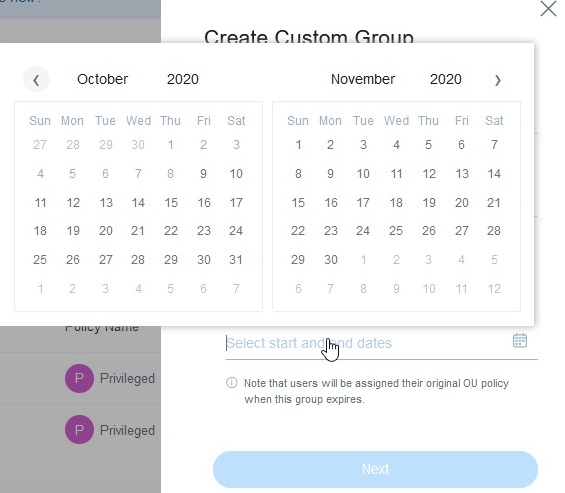
You can next select the duration for which the custom group should be applicable. You can choose from pre-set durations or select a custom range.
-
The next step is to add users to the Custom Group. You can either choose to add them at this stage or save the group without adding users and add them later. Your Custom Group will be created even if no users are added.
-
To add users to the group you can upload a CSV with user email addresses or enter up to 10 email addresses manually.
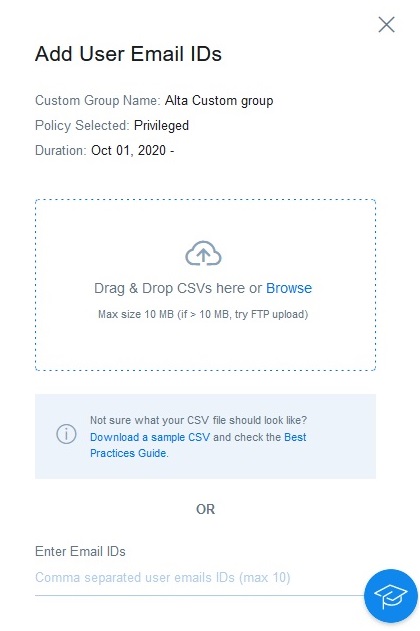
Your Custom Group will be created and will become applicable to users in the group as per the start date specified. If no date is specified, the group becomes applicable immediately.
You can create any number of Custom Groups by navigating to the “Policy Map” page and following the steps mentioned above, either from “All Policies” or any specific policy that you want to apply to that Custom Group.
