Follow the steps below to deploy SmartPAC using Microsoft Intune.
-
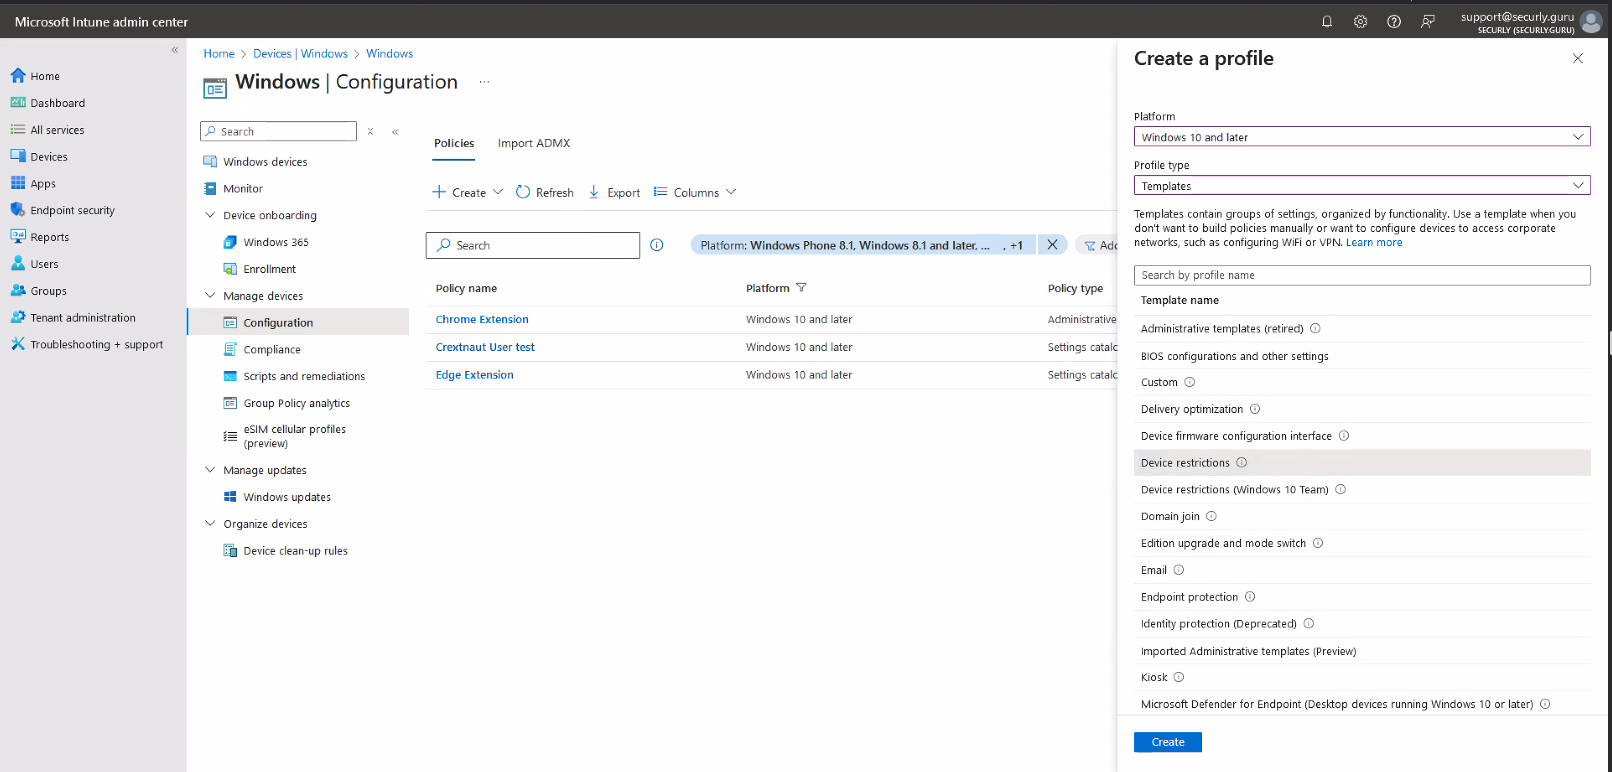
Access the Microsoft Endpoint Manager and admin center.
The SmartPAC specific setting is located under Devices > Windows > Configuration. -
Create a new policy and select platform as “Windows 10 or later,” set profile type to “Templates,” then select “Device Restrictions,” and click on the Create button at the bottom.
-
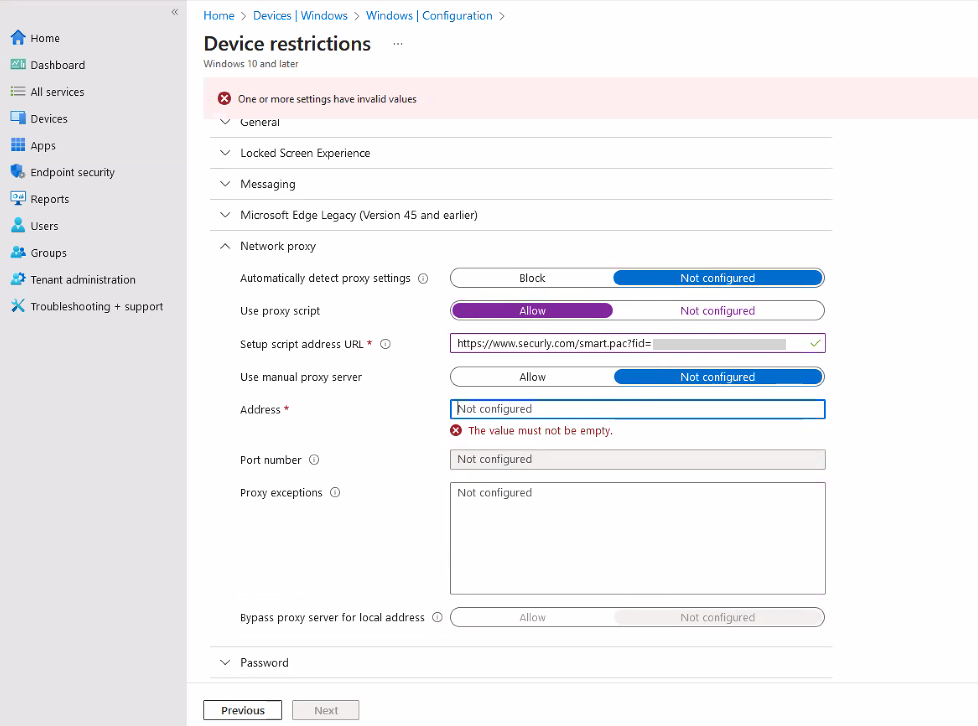
Under configuration settings, click on Network Proxy, and use your custom SmartPac URL.
-
You have to allow and then click not configured under "manual proxy server" to continue. This is done to counteract a bug we have discovered in Intune.
Notes on User Injection and Intune
Since User Injection utilizes variables to assist SmartPAC in grabbing usernames this does not currently work by default in Intune. This is because Intune deploys the SmartPAC to the browser directly and browsers do not interpret variables such as %USERNAME% or other variables in this fashion.
If you want to utilize User Injection in your Intune environment for Windows devices, SmartPAC must be deployed via a registry edit. Currently, there is no clear and easy path for registry modification within Intune besides writing custom scripts or wrappers.
The registry entry in question:
Hive: HKEY_CURRENT_USER
Key path: Software\Microsoft\Windows\CurrentVersion\Internet Settings
Action: Create
Value Name: AutoConfigURL
Value type: REG_SZ
Value data: The SmartPAC URL provided to you by Securly Support or Sales team members.
By default, your SmartPAC URL may use HTTPS. Some versions of IE only support HTTP. Securly supports both so be aware that you may need to use HTTP. Learn more about how custom registry settings deploy from Intune.
Currently Securly cannot provide scripting assistance due to the complexity and variations of customer environments. Please consult your preferred Microsoft Representative or TAM for further support.