Classes can be added manually from the Classes menu.
Adding a new class
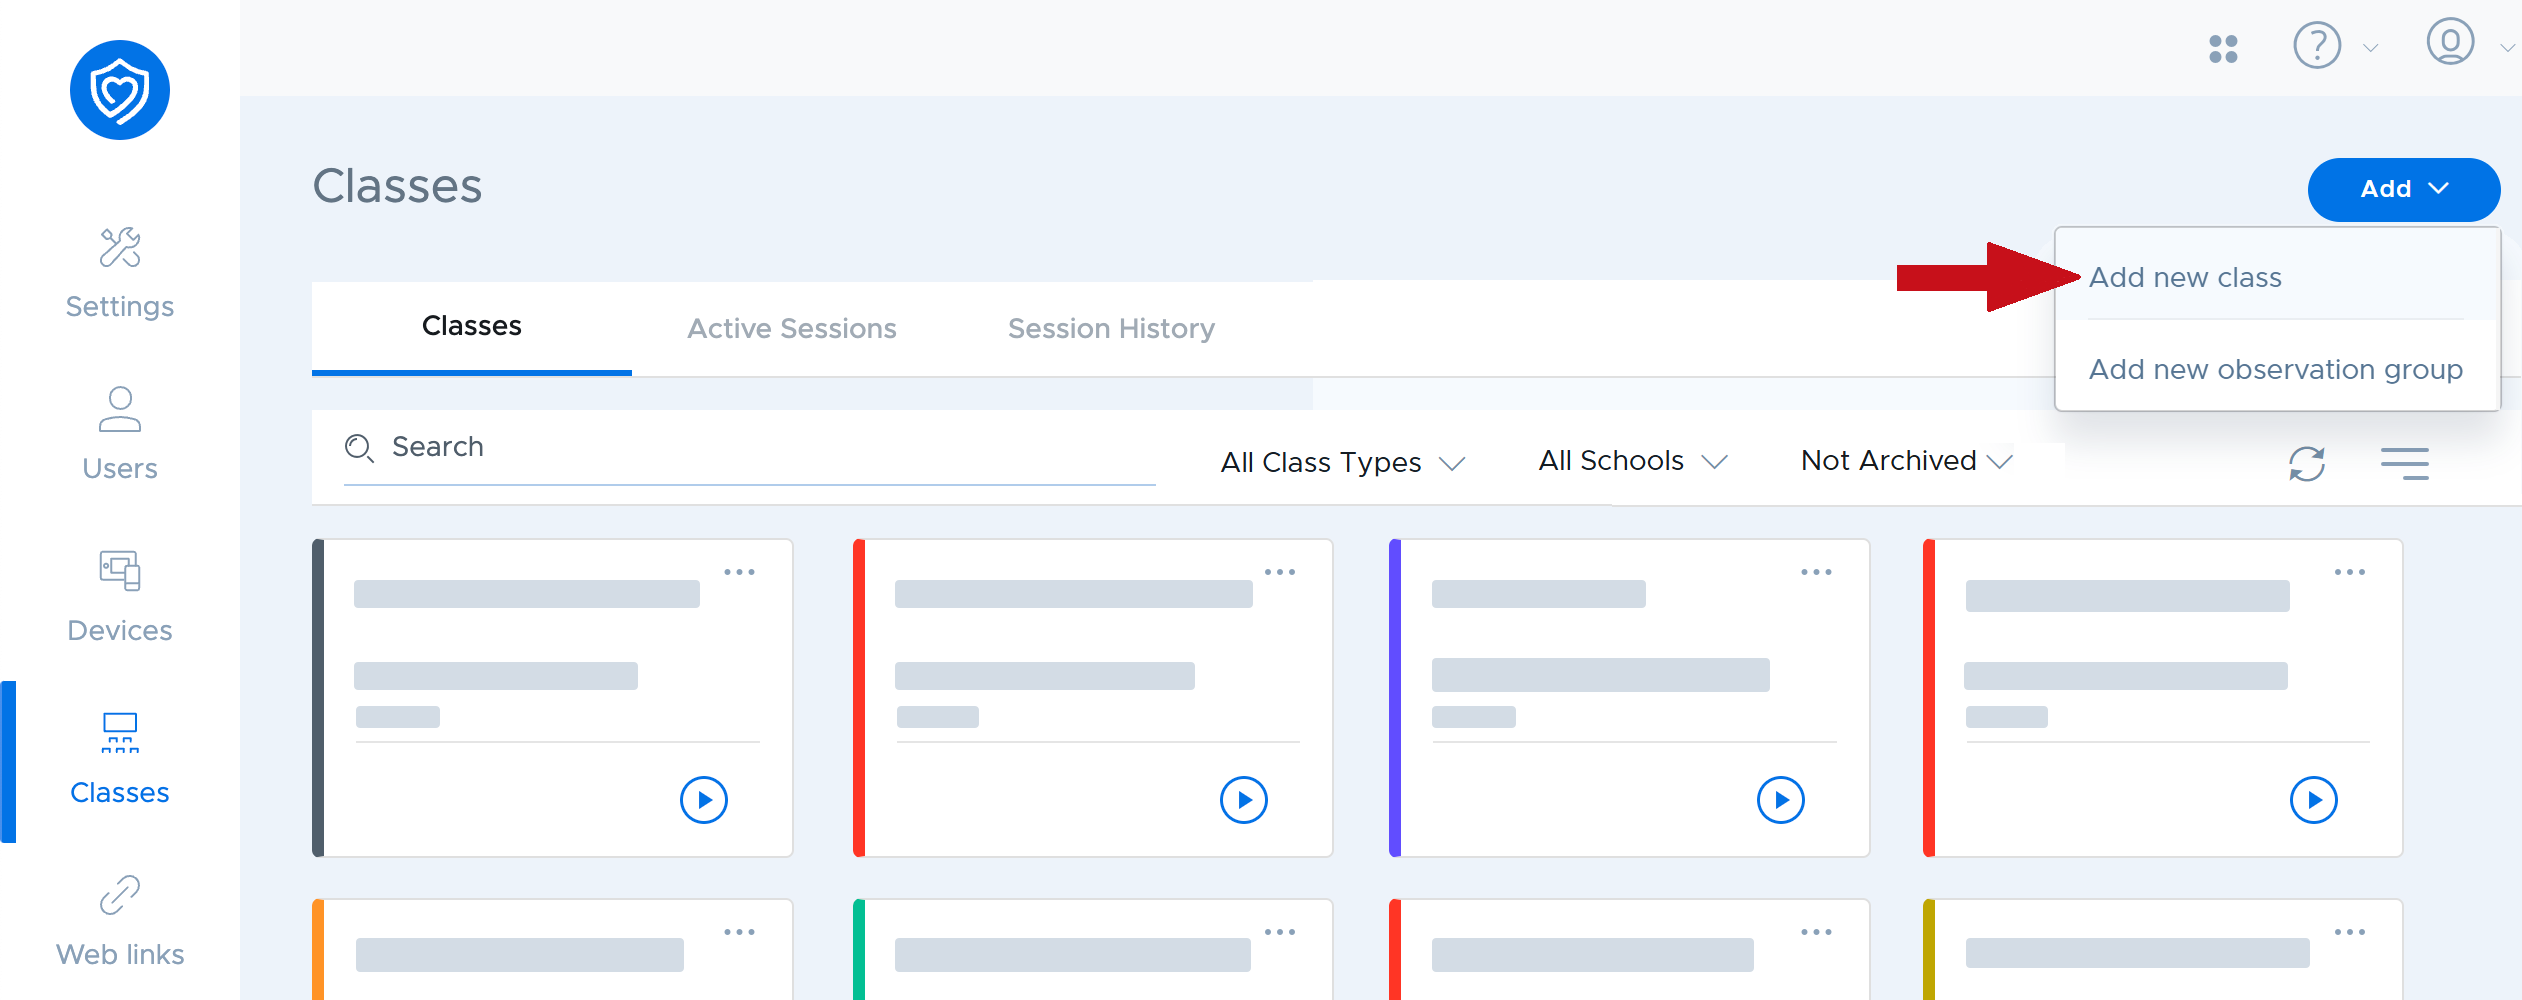
Click the Add button, then select Add new class from the dropdown menu.
From the sidebar that appears, assign the class to a location, then give it a name and description.
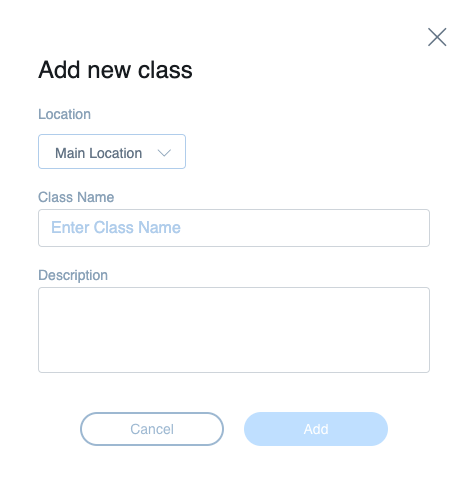
Pressing Add will create the class and immediately take you to the class edit screen.
Editing a class
You can get to the class edit screen at any time by clicking on the class name from the Classes screen in card view, or the class's row in table view.
.jpg)
From this screen, all attributes of a class can be edited. You can also add teachers and students to the class. Students can be added manually by email address or from the linked Google Directory.
Class Details
In the Class Details section, you can change the classes name, description, and card color. The color dropdown in the upper right of the Class Details section allows you to select the color that will be used in the rest of the Securly Classroom interface to refer to that class.
.png)
You'll also find Academic Session fields from OneRoster, including the academic session title, start date, end date, and school year.
Class Session Options
| Setting | Description |
|---|---|
| Default access plan | Choose a list of allowed/blocked sites or apps for the class session. |
| Site Lock to Collection | This setting starts the class with Site Lock active. Select a site collection by clicking the + icon to enable this. Once enabled, the "Allow but do not open" checkbox is presented, which ensures selected sites are accessible to students but not opened by default. Learn more about Site Lock. |
| Limit tabs | This setting will determine the maximum number of tabs students may have open during the session. |
| Close all open tabs on start | All open browser tabs on student devices will be closed when class starts. |
| Allow students to raise hands | This setting enables or disables the hand raise feature, which is available when students click the Securly Classroom extension icon. |
| Allow students to initiate chat | When enabled, students can initiate a chat session with the teacher by clicking the Securly Classroom extension icon and selecting the Chat option. When disabled, the student must wait for the teacher to initiate the chat. |
| Play chat alert sound for students | This option will cause an alert sound to play on student devices when the teacher sends a chat message. This can be useful during remote teaching to get student's attention. Typically, it would be disabled during in-person class sessions to avoid sounds that could distract other students in the room. |
Auto-start Scheduling
For details on configuring automatic start times for classes, see Auto-start Classes article.
Adding Students
Students can be added to manual classes using the plus button on the Students card. You can add students from the list of existing rostered students, or manually via CSV upload. When uploading students via CSV, the following restrictions apply:
- There is only a single field, the student email address
- The students being added to the class must already exist in Securly Classroom and be assigned to a school location.
- The user doing the CSV import must have permission to add students from the school the student is assigned to. This means that any students added would be ones that already show up on the list of students that are available when they click “Add student” which is typically limited to only students from the same school. For teachers, the list of acceptable students would be restricted to only those already rostered to them in other classes if the setting "Teachers can only add students to classes from existing rosters" is enabled.
If the file contains a student that can’t be imported, either because they don’t have a record in Classroom or the person uploading doesn’t have permission to add them, the import will not complete and an error message will be displayed.
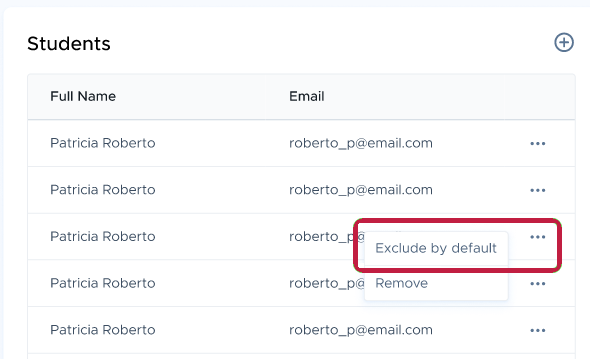
Exclude a rostered student by default
The “Exclude by default” option in the student roster section for classes sets a student to be excluded from the session when the class automatically starts by schedule. The student will also be unselected on the student selection screen when starting a class manually. This is useful when a student will be absent for an extended period of time, but will return at a later date and is still being included in the synced class roster.
If the “Exclude by default” option is enabled for a student, the student’s name will appear with a symbol next to it on the class roster.

Deleting a class
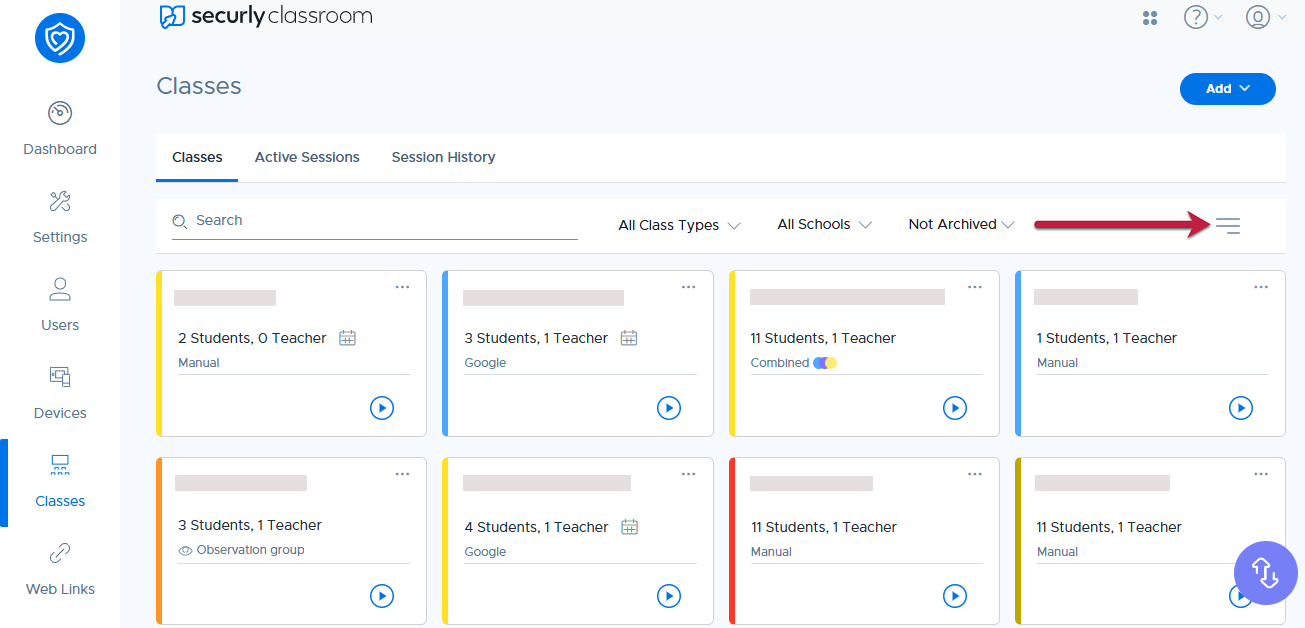
To delete a manual class, go to the Classes menu, then switch to list view by clicking the list view icon on the right side of the filter bar.
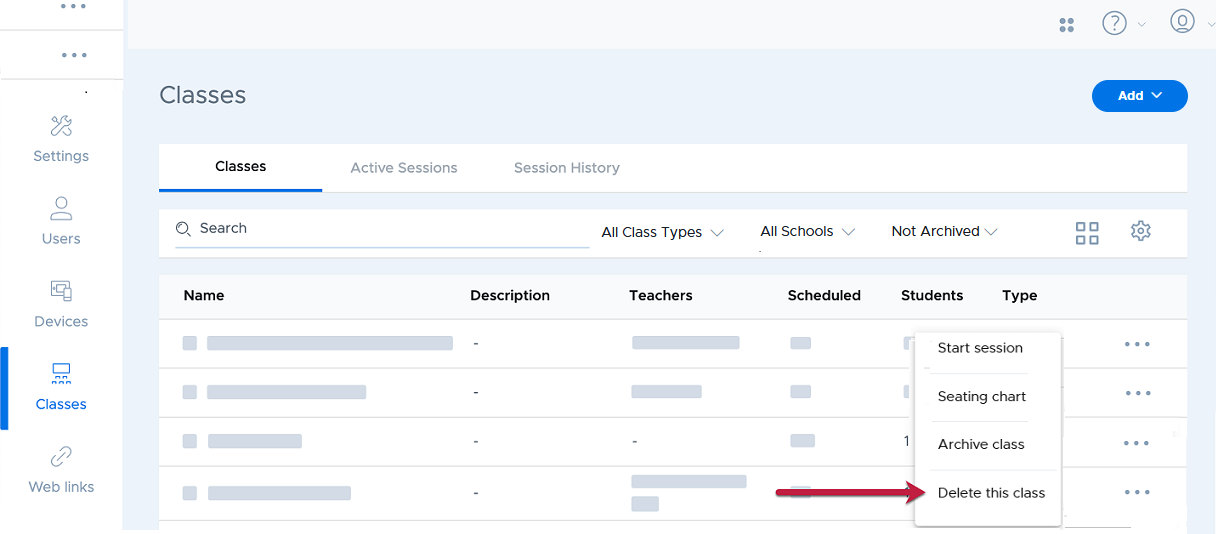
On any manual class you wish to delete, click the overflow menu (3 dots), then select Delete this class. Note that once a class has been run and has history, it cannot be deleted. However, you can archive a class to hide it from the main list.