To add a macOS device group:
- Go to Devices on the main menu.
- Select the macOS tab.
- Click the Add macOS Group button at the top right.
- Enter a name for the group in the Group Name field.
- Choose a school where the device group should be located. Note that this cannot be changed after it is created, although devices can be moved to device groups that are in different schools.
- Complete any optional fields (described below).
- Click the Save button at the top right.
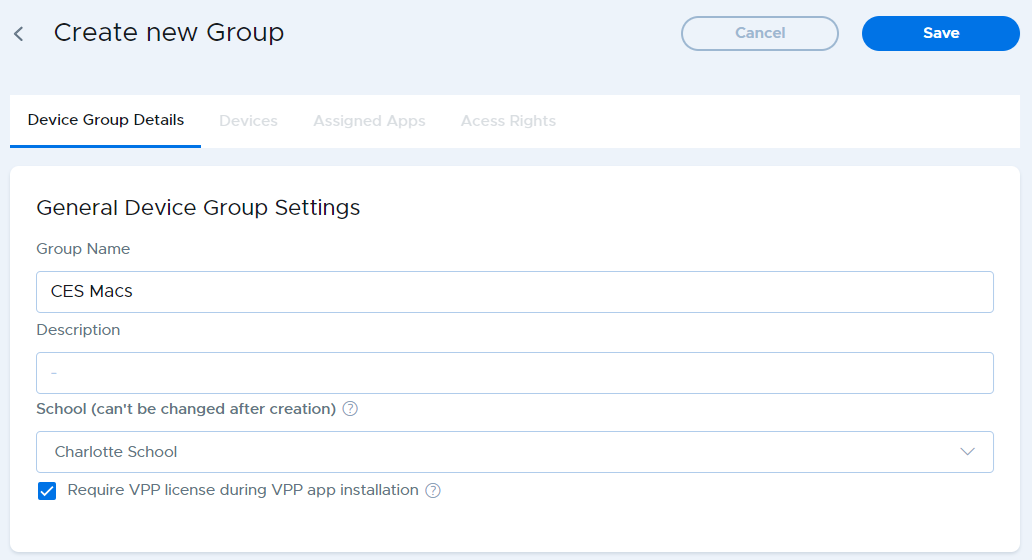
General Device Group Settings
Group Name: An easily-identifiable name for the group
Description: An optional description or note about the device group.
School: One of the defined school locations.
Require VPP license during VPP app installation: When installing apps with user-based VPP app assignment (as opposed to device-based app assignment), and with this item enabled, if there are not enough VPP licenses to install onto every device in the group, Securly MDM will stop installing onto remaining devices until more licenses are available. However, if you disable this option, Securly MDM will treat the installation on the remaining devices as if it were an App Store installation. This will attempt to install using the Apple ID through the App Store on each of the remaining devices. In most cases, this also means the user will be prompted to enter the password for the Apple ID on the device. It is recommended that you leave this item enabled.