The Users tab allows you to manage users who have accounts to log into and use Securly Classroom. This includes administrators, technicians and teachers. Users can be created manually, or imported and added from other sources.
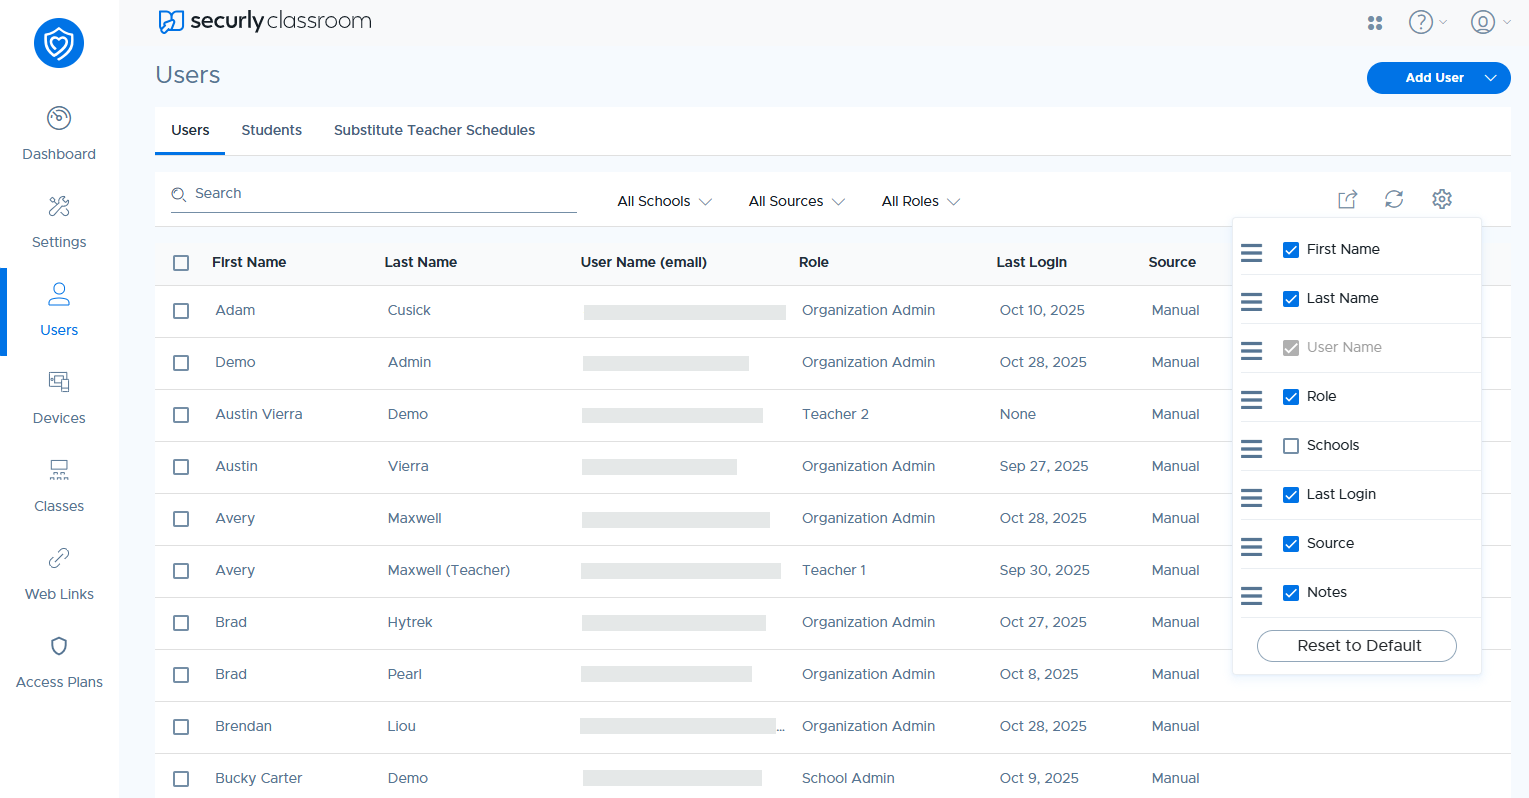
In this table, you can customize the position and visibility of each column by clicking the gear icon.
Adding a User
To add a new user, click the Add User button. You can only use this if the permission to create new student has been enabled for your role from the Permission settings.
If permission to create students is granted to teachers, they will only have the ability to do so if the setting for “Teacher can only add students to classes from existing rosters” is disabled by navigating to Settings > System sub-menu. This is necessary to add the new student account to classes, as they won't be part of any existing roster.
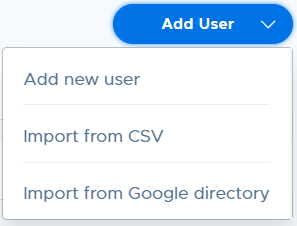
After clicking the button, you'll be presented with three options – adding a new user (manually), via CSV upload, and Google Directory import.
Adding a user Manually
Click Add User, then Add New User.
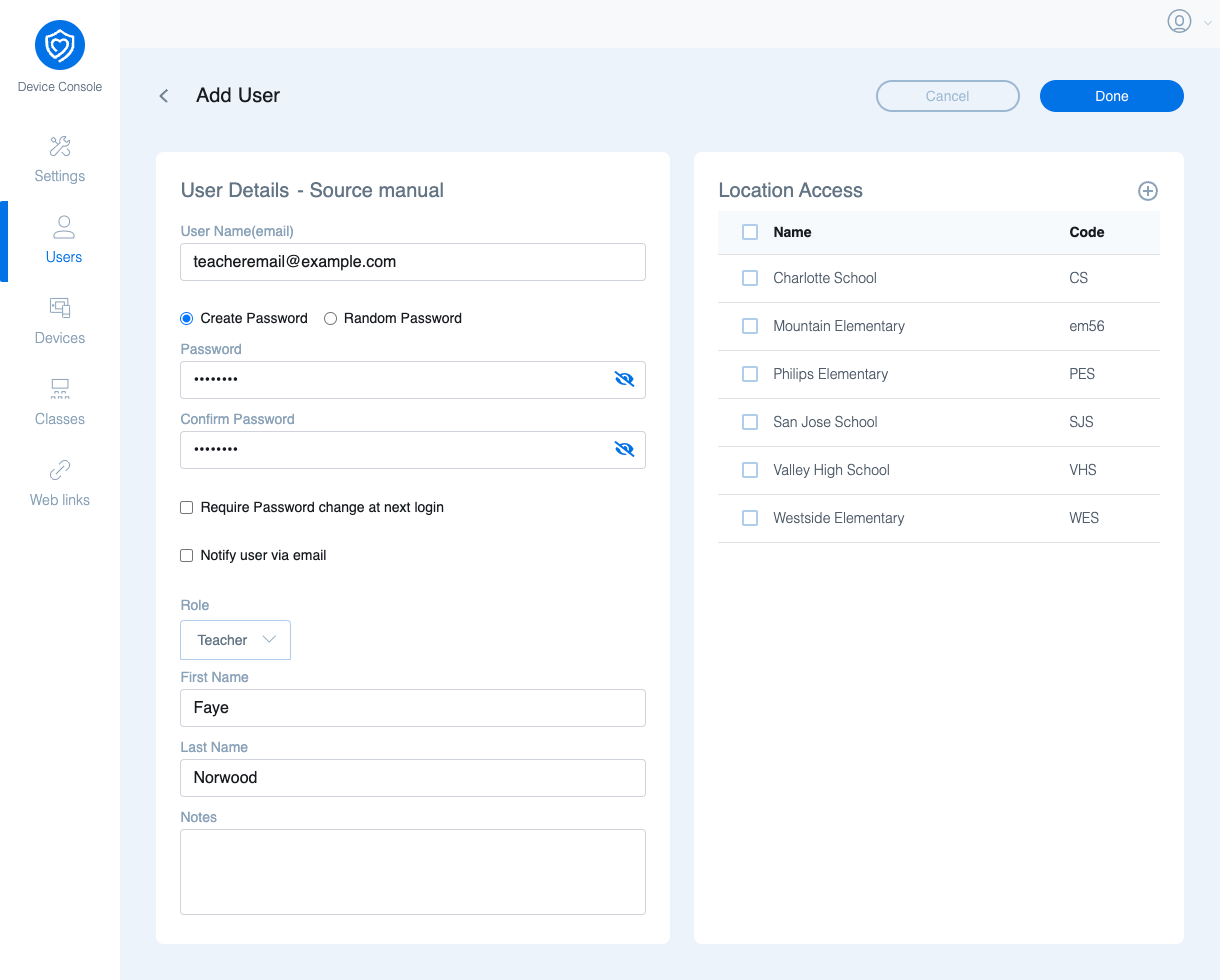
Select the school location for the user. You can optionally select to have the user create a new password on login, and also to send the user a notification email upon account creation.
Importing users from CSV
Click Add User, then Import from CSV. This can be useful for users in roles that are not importing through the existing sync methods such as substitute teachers. The CSV import can also be used to change the role for users, such as promoting certain users to a role with more permissions.
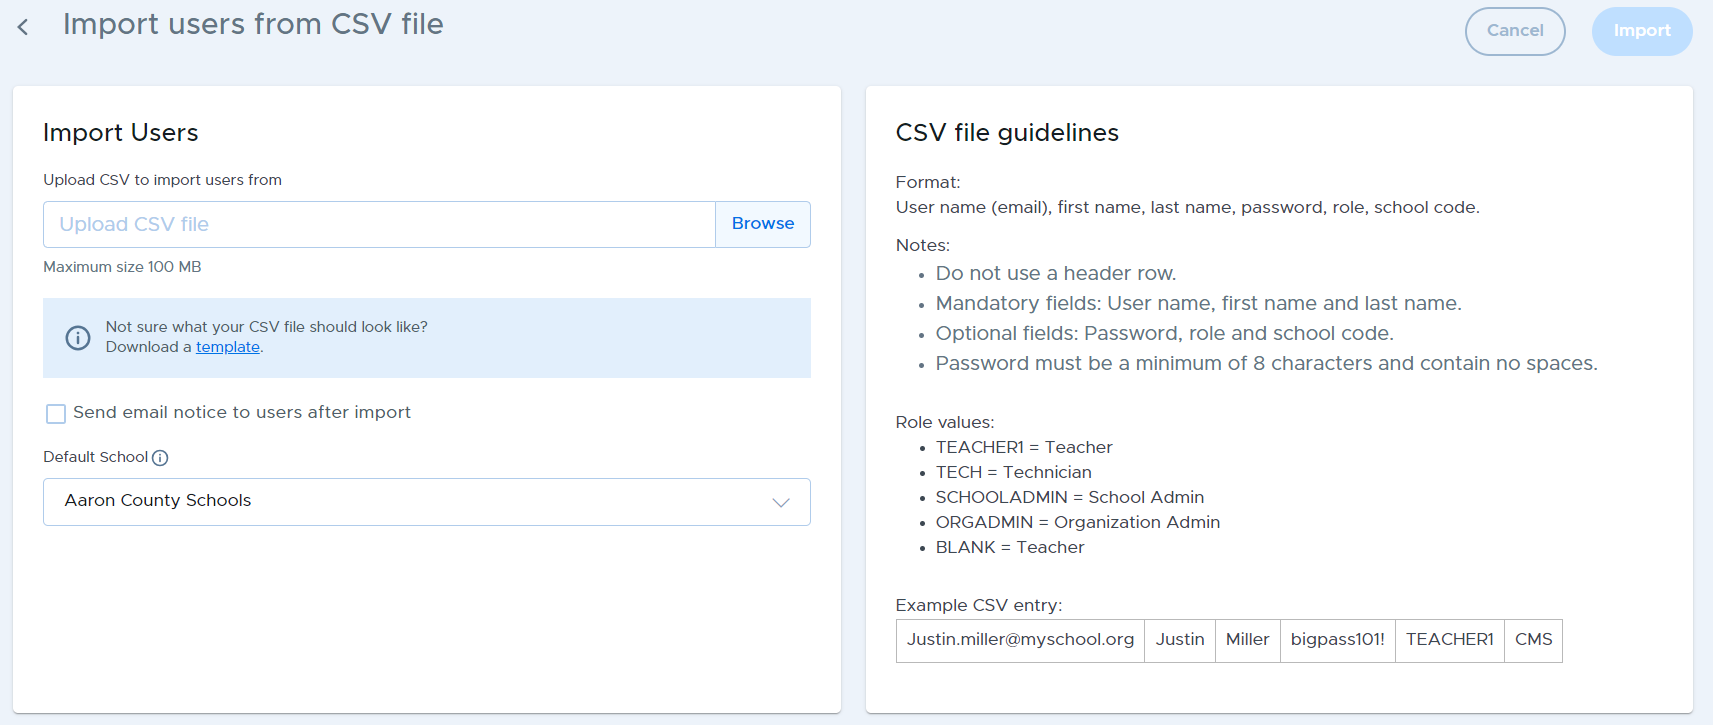
Finalize your CSV file as per the guidelines in the right. You can also download a template from link below upload csv field and edit it. Once you are done, select your file using the Browse button.
Select the default school from the drop down menu. This option ensures that the imported users are assigned to this school location in case the school location is left empty in the CSV file.
You can also check "Send email notice to users after import" to notify them, then click the Import button.
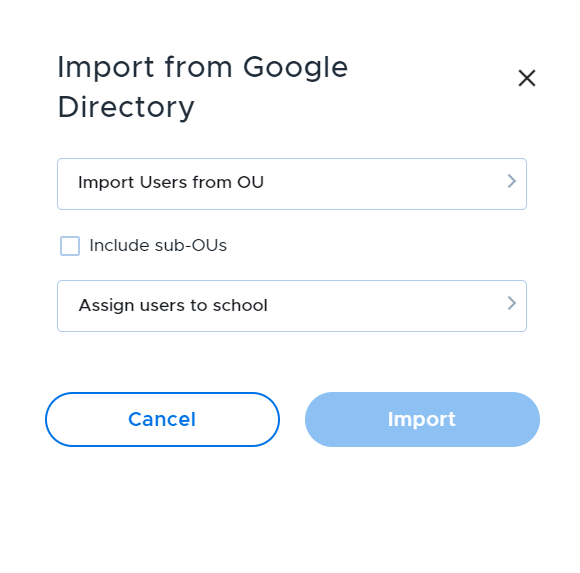
Importing users from a Google Directory
Click Add User, then Import user from Google directory.
Select your organization unit, check the "Inlcude sub-OUs" if required, and assign them to a school location. Finally, click the Import button
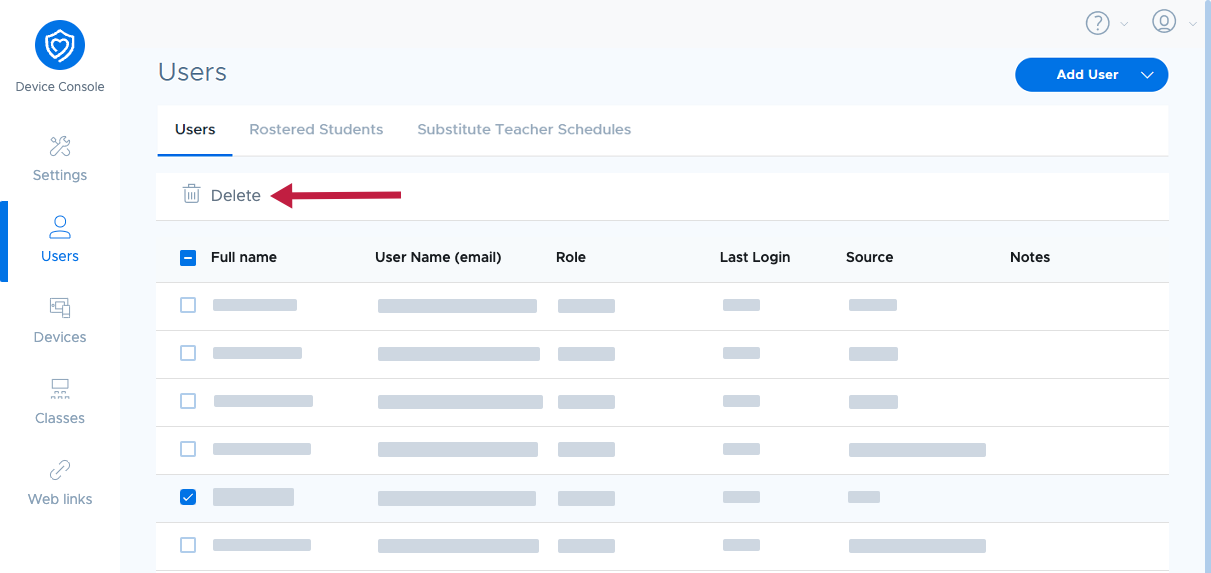
Deleting a User
To delete a user, go to the Users menu and select them, then click the Delete button that appears in place of the search/filter bar.