Below are the steps for uploading a user CSV file directly into the Pass system. When a file is uploaded through the Pass interface, it is stored in a client-specific directory on the server. Admins can view uploaded files from the Control Panel menu option → File Uploads. Please see additional details below.
-
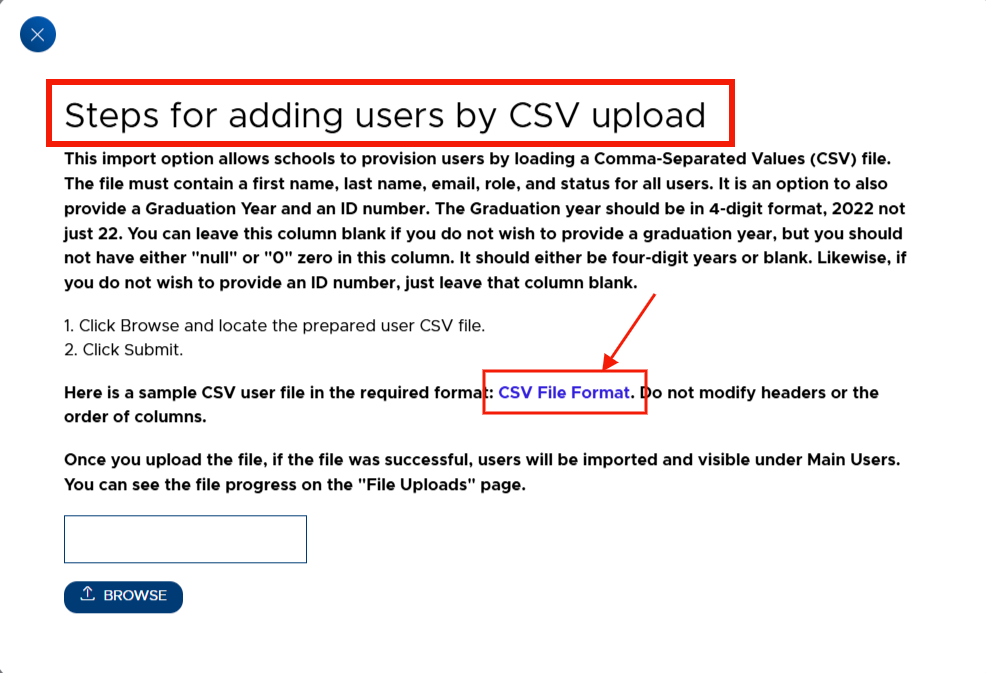
From the Users → Main Users screen, click Import Users. The screen below will appear.
- The screen contains helpful instructions and a link to a sample CSV file.
- The user CSV file will need to be created before you can proceed with the steps below.
-
Once the file has been created, click on Browse, select your user file, and click Submit.
-
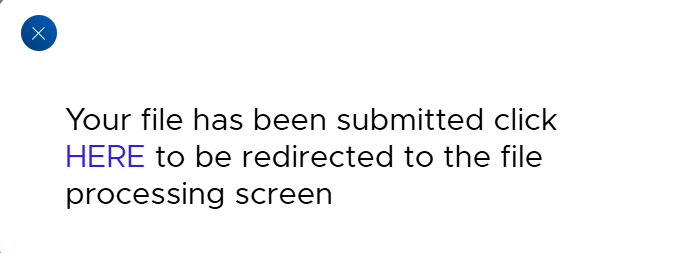
The following window and message will appear. By clicking HERE, the “File Uploads” menu screen will appear. (Clicking “X” will just close this window and take you back to the Main Users screen.)
-
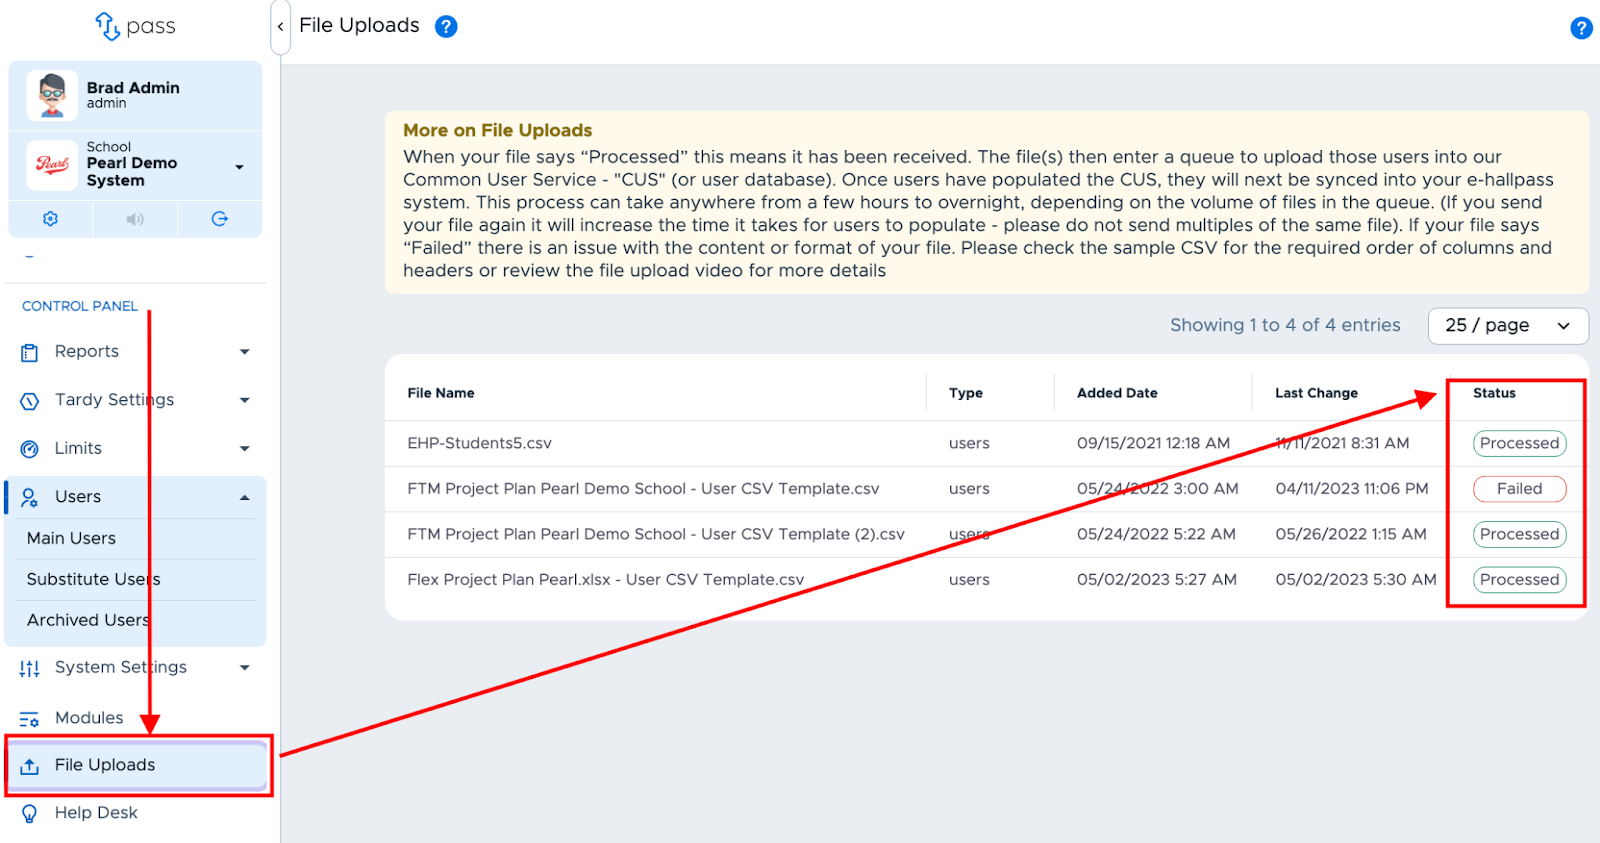
Below is the “File Uploads” screen where Admins can view their uploaded files.
-
Files will not be processed instantaneously but put in a queue for processing. This process can take anywhere from 24-48 hours for the data in “Processed” files to be fully integrated into Pass, depending on the volume of files in the queue.
-
The file “Status” will show one of the following.
- Queued - File is in line to be processed.
- Pending - File is waiting to be processed.
- In Process - File is currently being processed.
- Processed - File has been processed successfully. Check the Main Users screen for new users. This does not necessarily mean that ALL data was added to the system. If there was an error in the data or a blank field, the record may have been skipped.
- Failed - File processing was not successful. Check the following:
- The file format matches the requirements.
- There are no blank email fields.
- All domains match school domain(s). After making the necessary adjustments to the file, re-upload the adjusted file or contact the Pass Help Desk for assistance.
-
The green “Processed” status will appear once the file has been successfully uploaded.

-
Newly added users will be noted on the Main Users page (see the blue boxes below) as well as on the user list. (Note: Screenshot of the user list does not show all new users in this example. Newly added users will have an “Added” button to the left of their name.)


-