- Please create and manage a primary user file(s) for ongoing user management purposes. Each file upload should contain all users that you wish to be active in the system and not just new users. Here are the recommended file options:
- Upload one file with all users (user roles) included in the file.
- Upload one “student” file and one file containing all “adults” (admin, teacher, and staff roles).
We recommend that you use the same file name each time you upload your file, which will overwrite the previous file.
- To add new users, add them to the existing file that has all the other users and upload the file again.
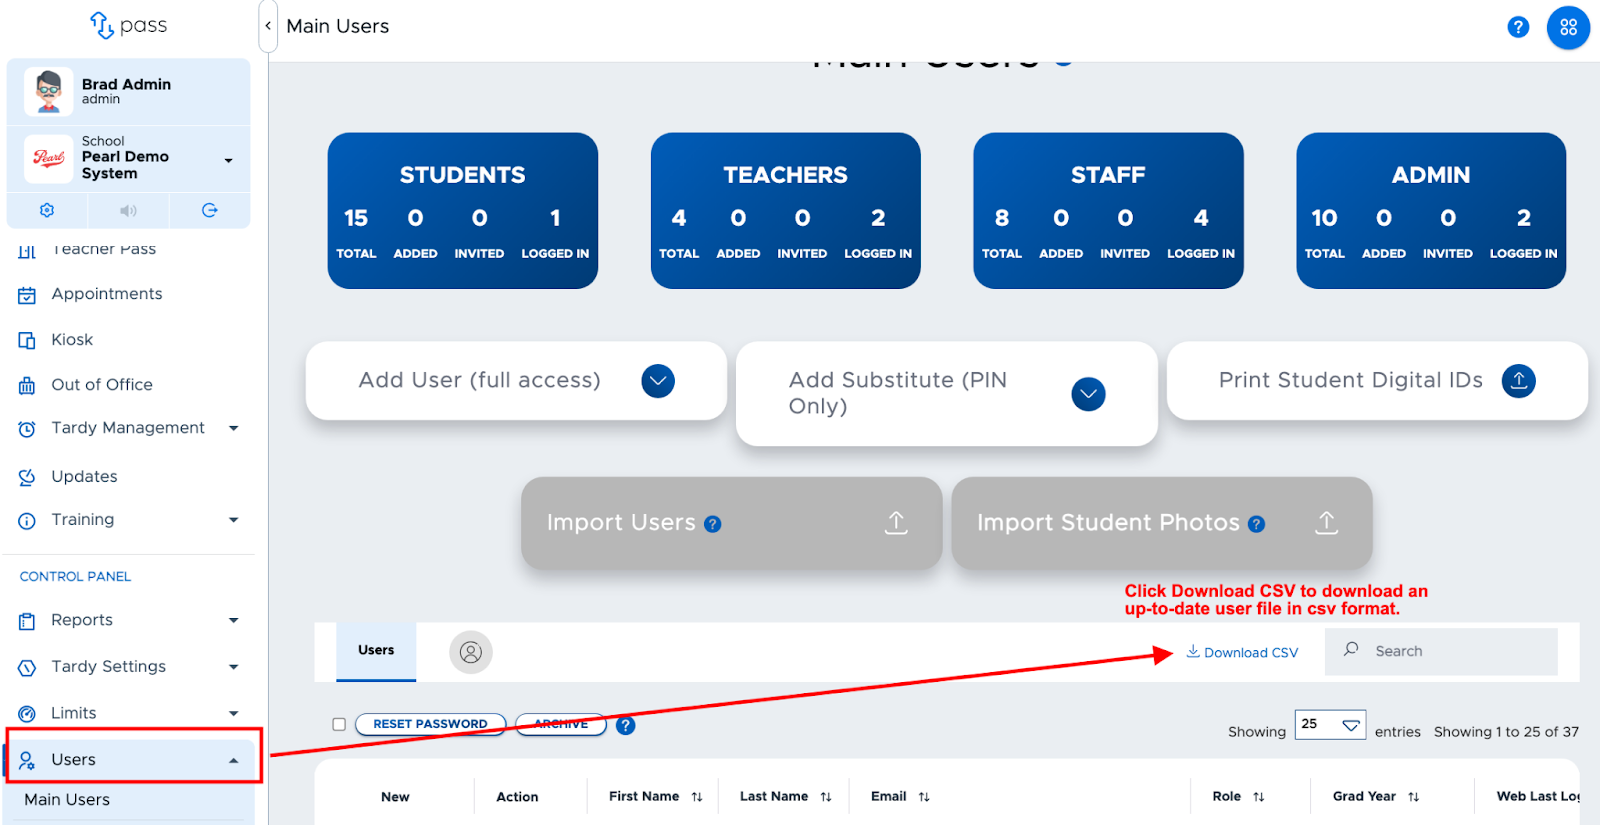
If you don’t have your primary file, it is possible to click the “Download CSV” button on the Pass Main Users screen to create a new master file. It will download in the correct file format. From here you can add/remove users as needed and then upload the file into the system.
-
To remove users who no longer need access to Pass, drop them off the existing file and upload the file again. They will be automatically archived (removed) from the system. Learn more in Removing (Archiving) Users section of this guide.
-
Editing User Data: Currently, all user data can be edited by uploading a new file.
- There are a few things to consider when editing a user’s email address. The best course of action would be to edit the user’s email address directly in Pass and then update your master file to also reflect the changes. This will keep the historical data associated with the correct user record.
- If you edit an email address on the file and want this to update in the system, please be aware of the following:
- If the “idnumber” field is filled in, a change can be made to the email address and the user record and data is retained.
- If the “idnumber” field is blank and the email is changed, a new user will be created (For students, the ‘old’ user record will be archived. In this situation, the historical data will be attached to the original user record/email).
- Edits to a user’s “Role” can be made directly in Pass or on the CSV file. If you do make a change to the user’s role on the file, remember to re-upload the file.
- For the “status” field, if “Active” (“1”) is no longer correct, remove the user from the file rather than changing the status.
-
If you are using Securly Sync, ClassLink, or Clever, ONLY upload users via a file who are NOT included in the sync. Please allow 30 minutes for your file to show in the “File Uploads” screen and overnight for new users to be added to the system.
To learn more, watch the “How to Create User CSV Files” video.